
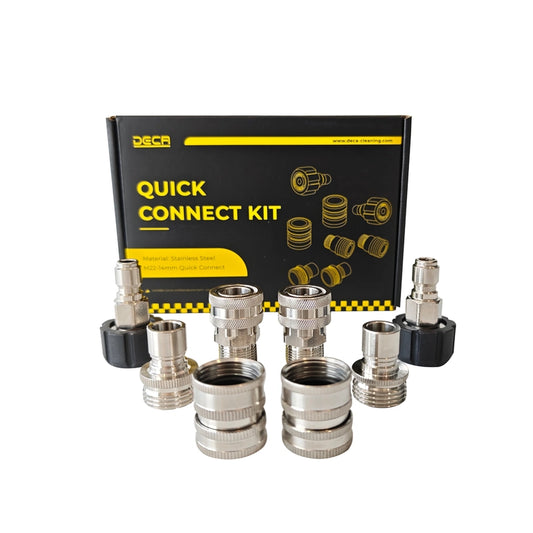

Properly assembling your high-pressure cleaning equipment is essential for a leak-free, efficient, and professional cleaning experience. Whether you are washing your car, cleaning driveways, or clearing hard-to-reach dead zones, connecting your attachments correctly makes the job much easier.
Based on our official demonstration video, this guide provides a quick setup workflow to help you get your DECA high-pressure accessories ready in just a few minutes!
Component Checklist
Before getting started, make sure you have the following components ready:
Pressure Washer Hose
Pressure Washer Gun
Extension Wand Kit: Includes Straight Wand (Type I), Y-Bend Wand (Type Y), L-Bend Wand (Type L), and U-Bend Wand (Type U)
Foam Cannon
Functional Nozzles: Turbo Nozzle and 6-in-1 Multi-Function Nozzle
Quick-Connect Spray Nozzle Tips

Step-by-Step Assembly Guide
Step 1: Connect the Pressure Washer Hose to the Gun
1.Inspect the Fittings: Ensure the quick-connect fittings on both the hose and the gun inlet are clean and free of debris.
2.Attach the Hose: Pull back the quick-connect collar on the gun inlet, insert the hose connector firmly, and release the collar until you hear it snap securely into place.

Step 2: Install Extension Wands & Cleaning Attachments
Choose the appropriate wand and functional attachment according to your cleaning task:
Extension Wands: Insert the Straight Wand (Type I), Y-Bend Wand (Type Y), L-Bend Wand (Type L), or U-Bend Wand (Type U) directly into the quick-connect socket at the gun outlet. Curved wands are especially ideal for cleaning undercarriages, wheel wells, and roof gutters.
Foam Cannon: Connect the foam cannon to the front of the gun or extension wand to quickly coat surfaces in thick, luxurious foam.
Turbo Nozzle: Attach the Turbo Nozzle to leverage a high-speed rotating water jet for removing tough, stubborn stains.
6-in-1 Nozzle: Connect the 6-in-1 Multi-Function Nozzle to easily rotate between multiple spray patterns without swapping tips.

Step 3: Install Quick-Connect Spray Nozzle Tips
If you need precise control over the spray angle, attach a spray nozzle tip directly to the front of the gun or extension wand:
0° (Red): Pinpoint high-pressure jet, ideal for spot-cleaning tough grime.
15° (Yellow): Narrow fan spray, best for heavy-duty cleaning on hard surfaces.
25° (Green): Standard fan spray, most commonly used for routine car washing and outdoor cleaning.
40° (White): Wide fan spray, suitable for gentle rinsing on sensitive surfaces like windows or paintwork.
Soap Nozzle (Black): Low-pressure nozzle designed for applying detergents and soaps.
Final Tips
Before every cleaning session, always double-check that all quick-connect fittings are fully locked and securely attached. A proper connection not only prevents leaks but also ensures maximum cleaning performance and extends the lifespan of your pressure washer accessories.
After use, turn off the pressure washer, squeeze the trigger to release any remaining pressure, and disconnect the accessories only after the system has been fully depressurized. Store all components in a clean, dry place to keep them in excellent working condition.
Need More Help?
If you would like to see the complete assembly process in action, watch our official installation video above for a detailed visual walkthrough.
For more pressure washer guides, maintenance tips, and product updates, visit the DECA Blog or subscribe to our YouTube channel for the latest tutorials and cleaning demonstrations.


